Your Cart is Empty


The perfect Cut Crease
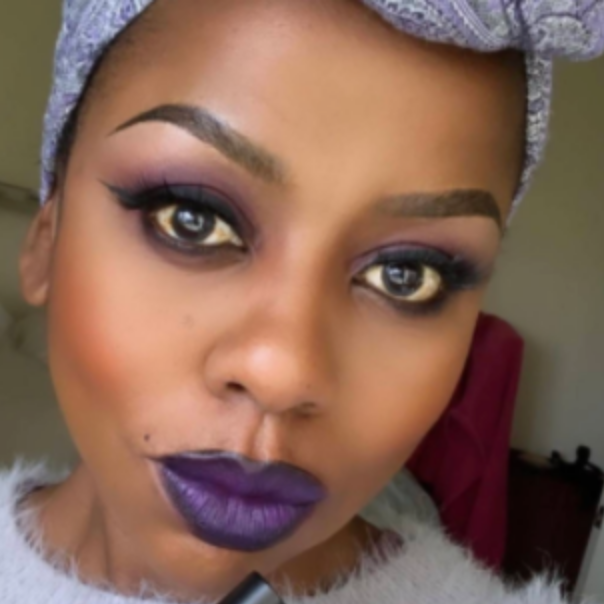
Change Your Makeup Game: The Cut Crease
As far as viral makeup tricks go, the cut crease is up there with contouring, strobing and baking. But despite its popularity amongst Hollywood actresses and celebs (think: Adele, Lana Del Ray, the Kardashians), many people don’t realize how easy it is to achieve the look at home.
With the power to create a stunning look that adds depth and definition to your eyes, this is one skill you definitely want in your bag of beauty tricks. Plus, you can go super soft or highly dramatic depending on your mood.
Here’s everything you need to know to become a queen of the cut crease:
So, what exactly is a cut crease?
The cut crease is a genius eyeshadow technique that can make your eyes look bigger and brighter. It was first used to draw attention to actress’ eyes in black and white films.
These days, it’s all about defining your eye socket to accentuate the upper lid, reduce the appearance of any swelling, and make your eyes look more open and bright.
Step 1: Prepping the Eye (Creating a Smokey Eye)
- Apply a darker color to your entire eyelid. This will be the base for the eye shadow. I like to use a liquid lip stain, since it’s easy to blend (Diva is one of my faves).
- This helps take away the heaviness of the eye lid, thereby opening my eyes
- Next, apply eyeshadow to the lash line, concentrating on the outer corner of the eye. Use a clean finger to blend as you go. The color should be darkest around the lash line and crease slowly lightening it up you blend up
- In this video, I used Zim from our old 12 color highly pigmented eye shadow palette. You can Queen from our new palette
- Apply a darker eyeshadow (I chose Muddy for this video) to the lash line and crease, continuing to blend with your finger. Repeat with a black shadow (I like to use Ink) for additional depth.
- Using your finger, gently tap a bit more of the dark or black shadow to your outer eye and blend it into the crease.
- Bonus look: Stop here and add mascara for a simple (and stunning!) smokey eye.
- Optional: For additional drama, rock false lashes. (Not necessary, but amazing.)
Step 2: Creating the Cut Crease
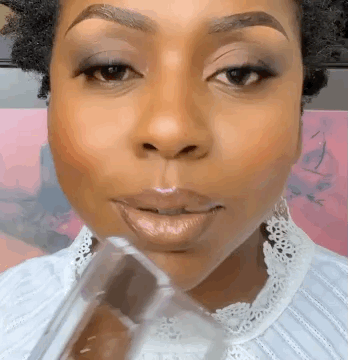
- Using a flat brush, apply a very light concealer — the lighter the better! — right in the middle of the lid. Determines the thickness of your cut crease
- Gently blend to cover following the line that defines the thickness of the crease.
- Apply a shimmery, bright shadow (like Aroused) right on top of the concealer. This will highlight the whole area.
- Finish off with adding Ink to end
Step 3: Complete the Look
- Using the tip of a wand, heavily apply mascara to help define the eyes
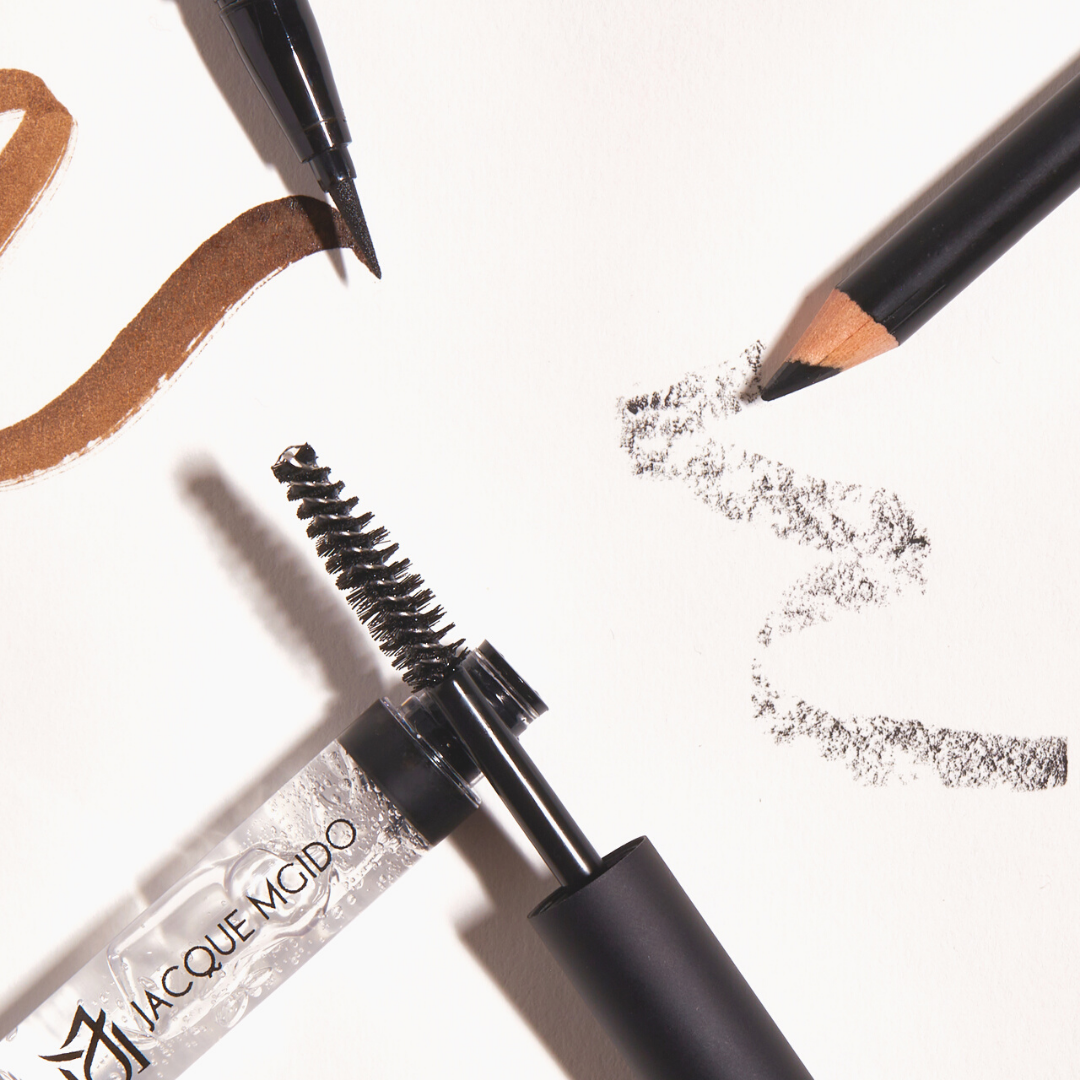
- Use the Eyebrow Pen and apply mascara to the bottom lashes
- Clean the are below the eye using concealer
Remember, a cut crease is for Everyone! Use it to make your eyes look more open. It is also a great technique if you want a brighter or more dramatic eye makeup look
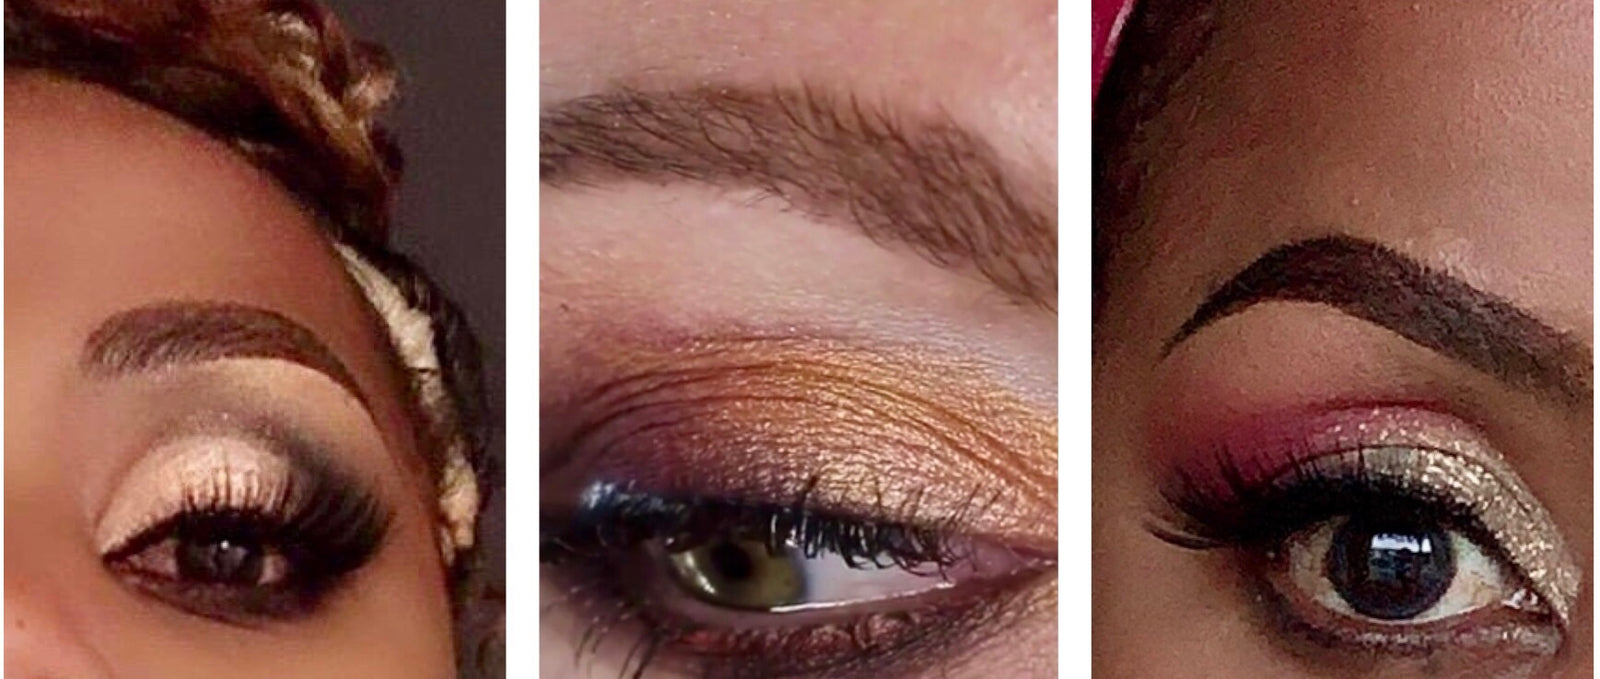
Cut Crease Looks
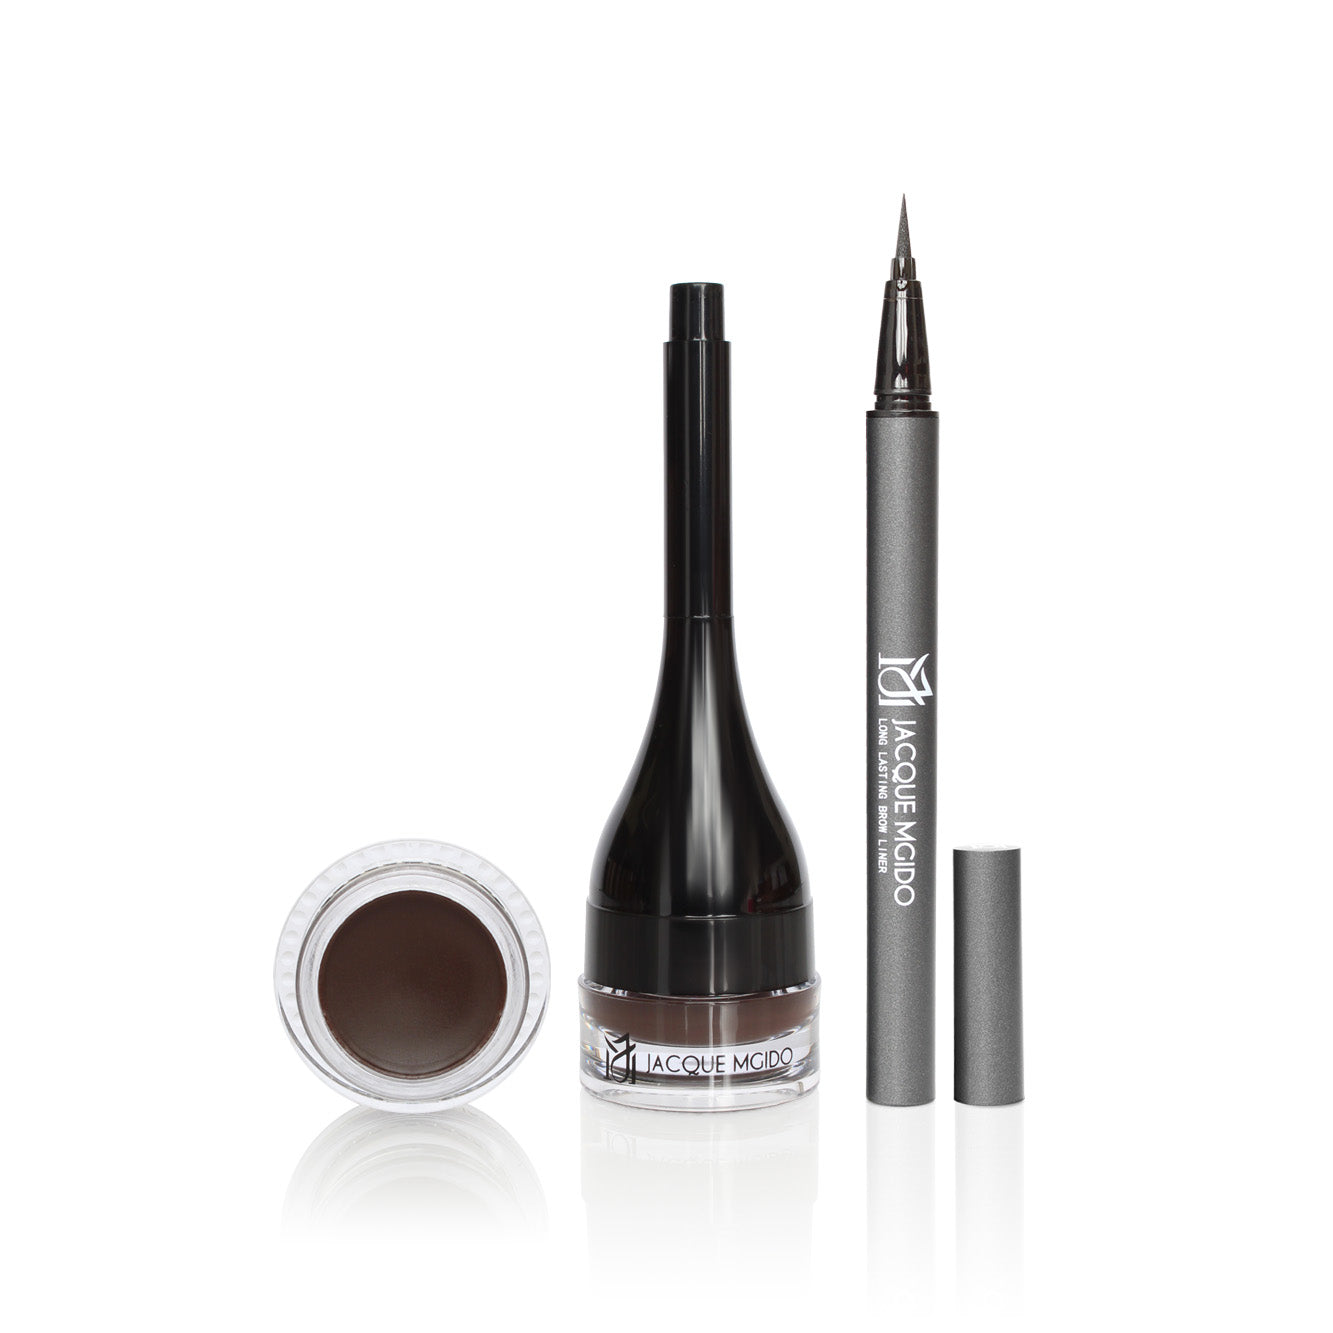
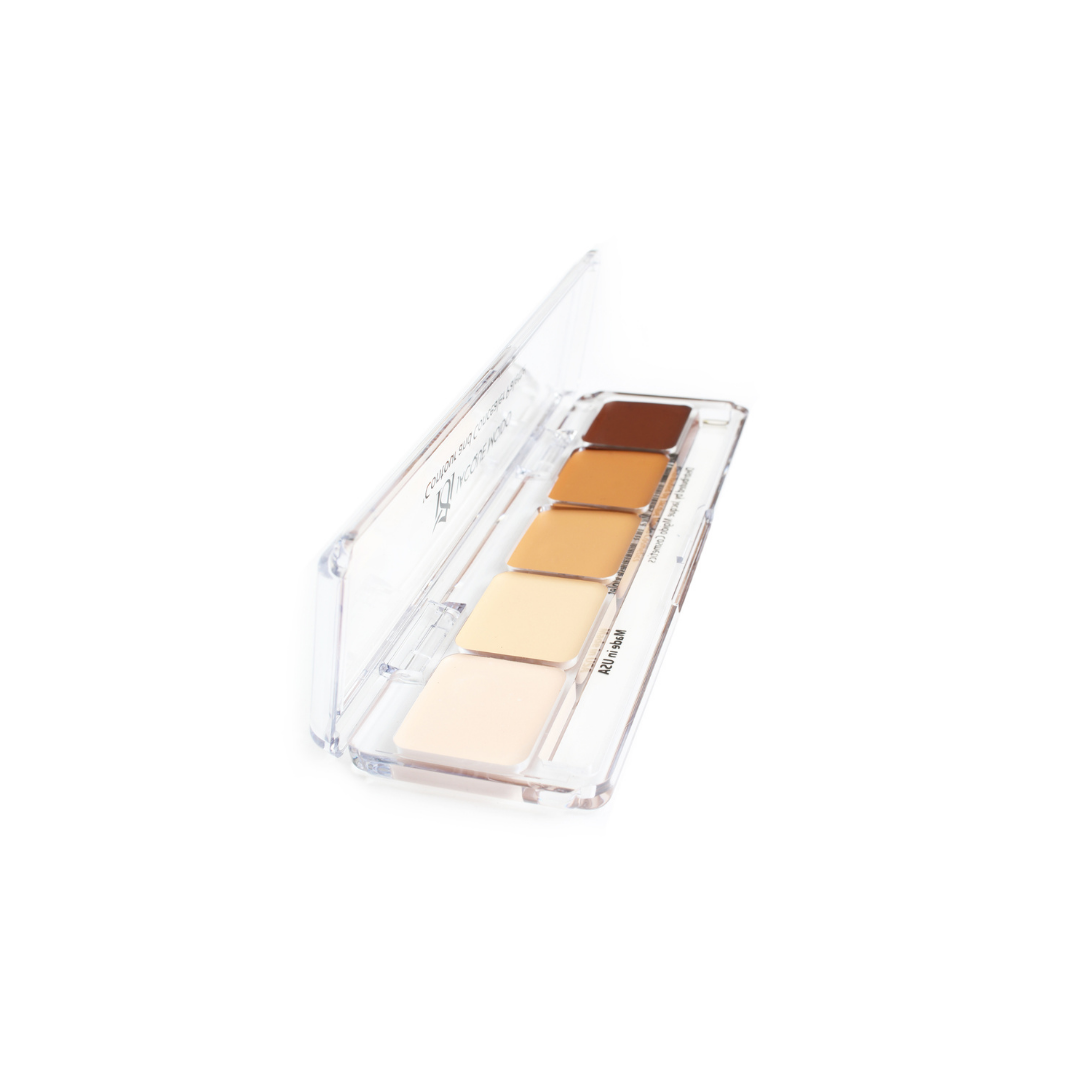
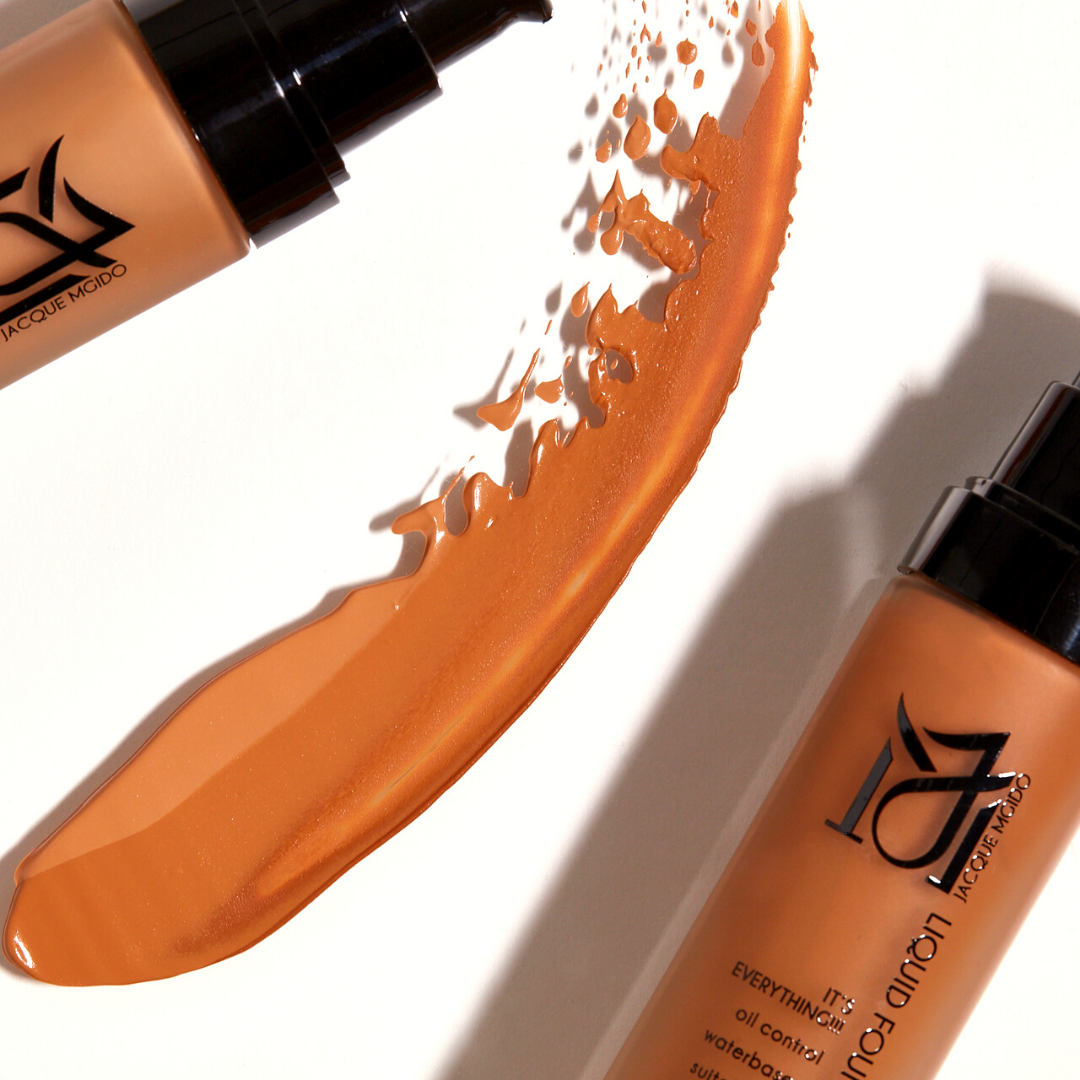
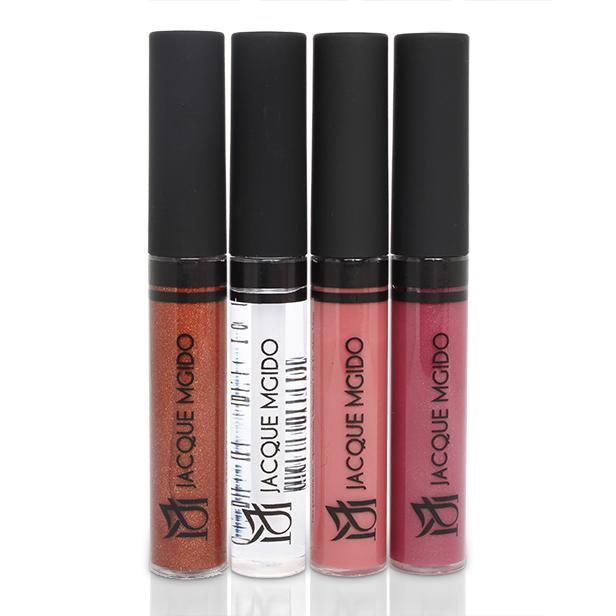
Products Used:
Sold out
Sold out
Sold out
Sold out
Sold out
Upcoming Blogs
Why I wear Makeup
Holiday Looks
What's Your Eyebrow Shape
Leave a comment
Comments will be approved before showing up.